
Old Stitches, New Tricks: 14 Genius Crochet Hacks You Must Try
Crochet is more than just loops and stitches, it’s a creative art form with endless possibilities. But even the most experienced crocheters can hit snags, tangles and frustrations along the way. What if you could crochet faster, fix mistakes easily and make your projects look more professional all with a few simple tricks? That’s exactly what these 14 genius crochet hacks will help you do! Whether you are a beginner or a seasoned crocheter, these tips will save time, reduce frustration and make every project look polished.
Never Lose Your First Stitch Again – Use a Marker in Your Starting Chain

Nothing is more frustrating than crocheting a long starting chain only to realize you have lost track of where your first stitch should go. This can lead to uneven edges, missed stitches and unnecessary frustration. Place a stitch marker or a safety pin in your very first chain before turning. This simple step creates a clear reference point, making it easier to insert your hook in the right spot when working the next row. This hack is especially useful for projects with long starting chains, like blankets, scarves or sweaters. Once you start using it, you will never go back!
Make Yarn Joins Invisible with the Magic Knot

Weaving in yarn tails can be a tedious task, but what if you could skip it entirely? The Magic Knot is a nearly invisible way to join yarn so securely that it won’t unravel even after multiple washes. Tie the new yarn to the old yarn with a small overhand knot, do the same with the old yarn around the new yarn. Pull both ends tight until the knots lock together, then trim the excess. This method works beautifully for color changes and joining a new skein without having to weave in dozens of tails later.
Keep Yarn from Rolling Away with a DIY Yarn Holder
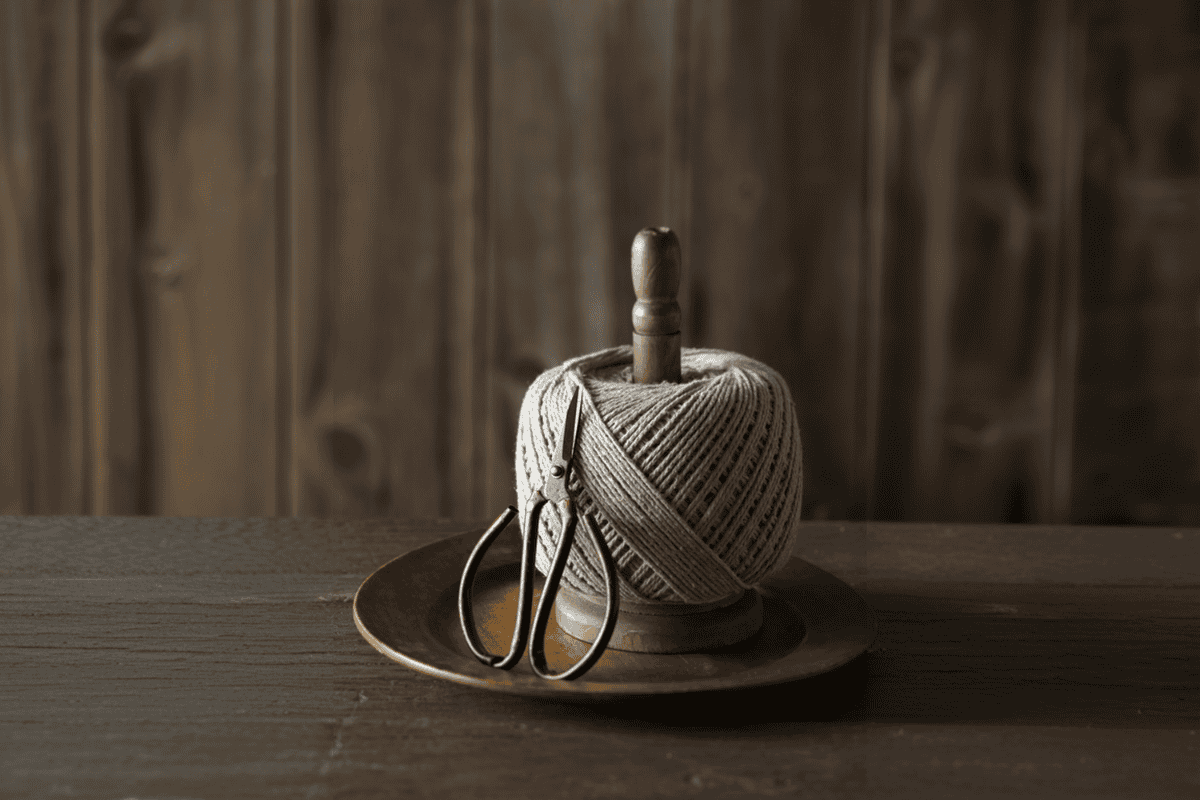
If you have ever watched your yarn ball bounce across the floor, collecting dust and pet hair, you know how annoying it can be! The solution is a simple, homemade yarn holder. Place your yarn in a large coffee mug, bowl or even a repurposed tissue box. If you are on the go, use a zippered plastic bag with a small hole in it, thread the yarn through and it stays clean and tangle free. No more chasing your yarn under the couch!
Skip Weaving in Ends by Crocheting Over Your Tails

Weaving in ends is every crocheter’s least favorite part, but did you know you can hide them as you crochet? When you start a new yarn color or skein, simply lay the loose end along your stitches. As you crochet, the stitches will trap the tail inside, eliminating the need to weave it in later. This trick saves time and keeps your finished piece neat and polished without the frustration of loose ends unraveling.
Ditch Tight Starting Chains – Use Foundation Stitches Instead

Have you ever made a tight starting chain that pulls at your project, making it look uneven or stiff? Foundation stitches are the secret to a stretchy, more comfortable start. Instead of making a long chain and working back into it, you create both the chain and the first row of stitches simultaneously. This gives your project a flexible, even foundation especially important for garments or blankets. Try Foundation Single Crochet (FSC) or Foundation Double Crochet (FDC) and you will never struggle with tight starting chains again!
Block Your Crochet for a Perfectly Shaped Finish

If you have ever noticed your stitches looking wavy, uneven or curled at the edges, blocking can fix that instantly. Pin your project to the correct shape on a blocking mat or foam board. Lightly mist it with water or use a steam iron at a distance. Let it dry completely before unpinning. Blocking evens out stitches, making lacework look crisp and textured stitches stand out beautifully. It’s a must-do for granny squares, shawls and fitted garments.
Related Post: 12 Genius Fabric Scrap Hacks That Will Save You A Fortune
Turn a Hair Tie into the Perfect Scrunchie Base

Want to crochet a trendy scrunchie, Instead of starting with a loose loop? Crochet directly around a hair elastic for a stretchier, more durable scrunchie. Great for DIY gifts or fun accessories.
Related Post: 15 Fabric Scrap Hacks That Will Make You Regret Ever Throwing Away Scraps
Protect Your Hands with a DIY Ergonomic Hook Handle

Crocheting for hours can strain your hands. You don’t need an expensive ergonomic hook, just a bit of foam, clay or rubber tubing! Wrap a soft foam grip or clay around your crochet hook’s handle. If using clay, shape it to fit your hand and let it harden overnight. This reduces hand fatigue and lets you crochet longer without discomfort.
Related Post: 14 Genius Sewing Hacks for Seam Perfection Every Time
Seamlessly Join Granny Squares with a Continuous Join

Instead of sewing squares together one by one, try the continuous join as you go method, which eliminates extra seams and creates a smoother, more cohesive finish. Attach your yarn to a square and crochet around each one, connecting them as you go. This creates a seamless, strong join without chunky seams. Perfect for blankets, afghans and patchwork projects!
Related Post: 15 Old-School Sewing Room Hacks That Will Change Your Life
Create a Stunning Braided Edge with Reverse Crochet

Want an elegant, decorative finish? The Crab Stitch (Reverse Single Crochet) creates a beautifully twisted, rope like edge that looks incredibly professional. Instead of working left to right, crochet backward, inserting your hook in the stitch before the last. This creates a tight, braided edge that is great for borders on blankets, hats and bags.
Related Post: You Will Never Look at Old T-Shirts the Same Way After These 15 Hacks
Keep Your Hook Close with a Crochet Necklace

Tired of misplacing your crochet hook every five minutes? Attach it to a lanyard or keyring necklace for easy access while working. Use a retractable badge reel to make it even more convenient!
Related Post: 15 DIY Embellishment Hacks That Will Instantly Elevate Your Projects
Make Colorwork Easier with Bobbins or Clothespins

Working with multiple yarn colors can turn into a tangled mess. Keep them separated by wrapping each color around a clothe spin or small bobbin. This Keeps your yarn neat and prevents tangles. It also helps maintain clean color changes for tapestry crochet or fair isle designs.
Related Post: 7 Creative Things You Can Make With Fabric Scraps
Use a Yarn Bowl or Binder Clip to Prevent Tangles

Nothing slows down your crochet flow like yarn tangling into a frustrating knot. Instead of stopping every few minutes to untangle, try this game changing trick. If you have a yarn bowl, feed your yarn through the guide to keep it smooth and tangle free. No yarn bowl? No problem! Use a large binder clip attached to the edge of a basket or table. Thread the yarn through the clip and it will unwind evenly as you work. This prevents snags and knots, letting you crochet faster and stress free.
Related Post: 12 Christmas Sewing Projects That Will Put You In The Holiday Spirit
Save Time with the Russian Join for a Knot Free Finish

Do you hate tying knots when switching yarn colors? The Russian Join is an invisible way to connect two yarns seamlessly, so you never have to weave in ends later. Thread one yarn end through a large eyed tapestry needle. Weave it back into itself for about 2 inches, creating a small loop. Do the same with the second yarn, pulling them snugly together. This eliminates bulky knots and makes your project look effortlessly flawless. It is perfect for color changes in scarves, blankets and sweaters!
By using these 14 genius crochet tricks, you will make your projects smoother, neater and more enjoyable. Whether it’s avoiding yarn tangles, perfecting your joins or adding a polished touch to your edges, these tips will level up your crochet game instantly. Now, grab your hook, pick a hack and start creating magic with every stitch!
Disclaimer: This list is solely the author’s opinion based on research and publicly available information.
Crafters Swear by These 14 Sewing Room Layout Hacks

A well organized and thoughtfully laid out sewing room can make all the difference between a productive crafting session and a frustrating one. If you are tired of tripping over fabric or searching for your sewing tools, it’s time to rethink your sewing room layout. These 14 sewing room layout hacks will transform your space, making it functional and inspiring.
Read it here: Crafters Swear by These 14 Sewing Room Layout Hacks
Sewing Shortcuts You Wish You Knew Sooner 13 Time Saving Tips

Sewing can be incredibly rewarding, but let’s face it, sometimes the process feels like it takes longer than it should. From cutting fabric to stitching seams, the details can pile up, making it easy to lose track of time. What if you could speed up the process without sacrificing quality? With the right tricks, you can! Here are 13 time saving sewing tips that will make you wonder why you didn’t discover them sooner. These shortcuts will streamline your sewing, improve your results and have you finishing your projects in record time.
Read it here: Sewing Shortcuts You Wish You Knew Sooner 13 Time Saving Tips
14 Hidden Sewing Hacks That Will Solve Your Biggest Frustrations

Sewing can be a calming and creative experience, but there are moments when it feels like everything is working against you. From tangled threads to uneven seams, sewing frustrations can quickly turn a fun project into a stressful ordeal. But not to worry! With these 14 hidden sewing hacks, you will be able to tackle your biggest sewing dilemmas with ease and keep your projects moving smoothly. These clever tricks will save you time, effort and plenty of headaches, allowing you to focus on what you love.
Read it here: 14 Hidden Sewing Hacks That Will Solve Your Biggest Frustrations