
This DIY Plant Dye Art Brings Indian Textile Magic To Your Home Decor
Transform your home decor with a splash of color and a rich cultural history by embracing the beauty of plant dye art. Rooted in traditional Indian textile techniques, plant dyeing not only infuses your surroundings with vibrant, organic colors but also tells a story of sustainability and craftsmanship. By using plant based dyes, you will bring the magic of nature into your home in an eco-friendly, artistic way. This DIY project invites you to explore color, texture and the timeless elegance of handcrafted design.
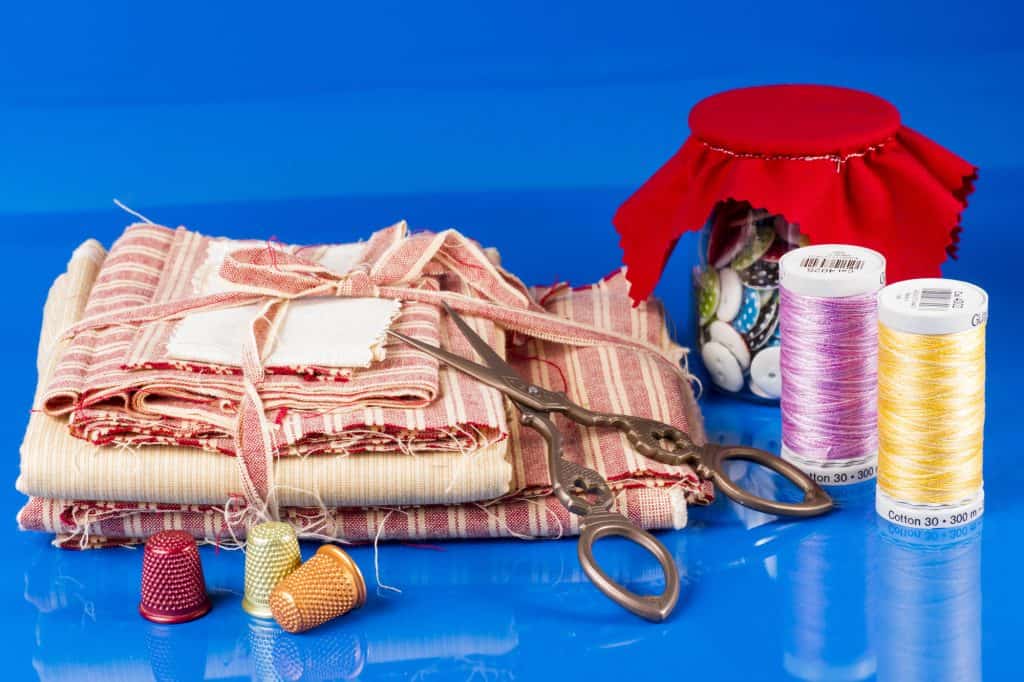
Choose Your Fabrics
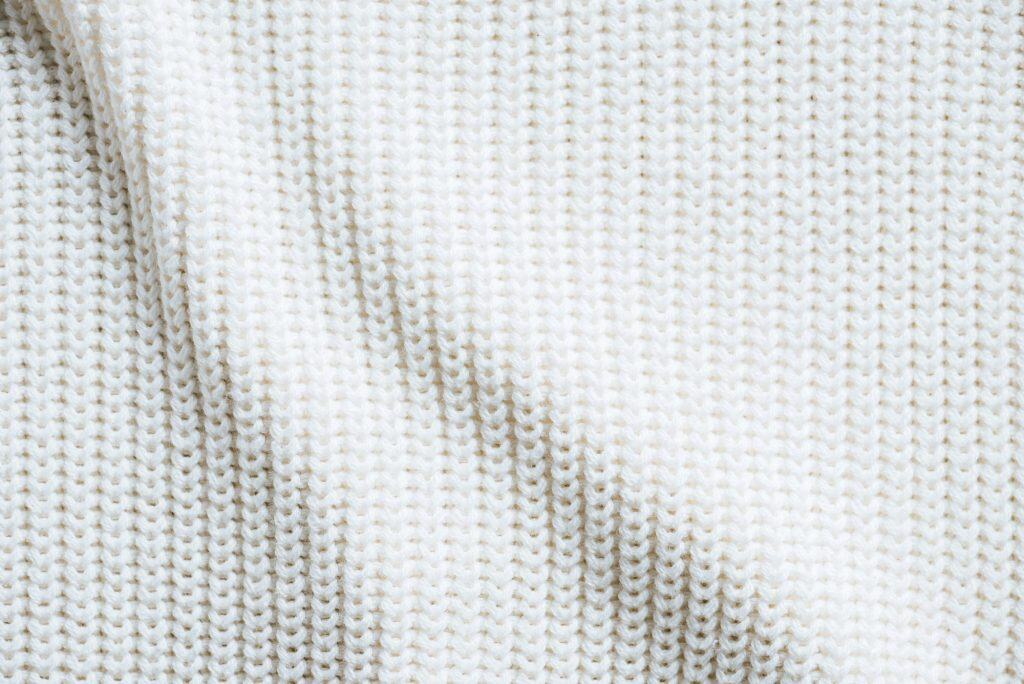
Select natural fabrics such as cotton, linen or silk for the best dyeing results. These materials hold plant dyes beautifully, creating rich, long lasting colors. You can use old sheets, pillowcases or fabric remnants from previous projects. Do not be afraid to experiment with various textures and weaves, each fabric will hold the color in its own unique way. Keep in mind that lighter fabrics tend to absorb dyes more evenly, offering vibrant results.
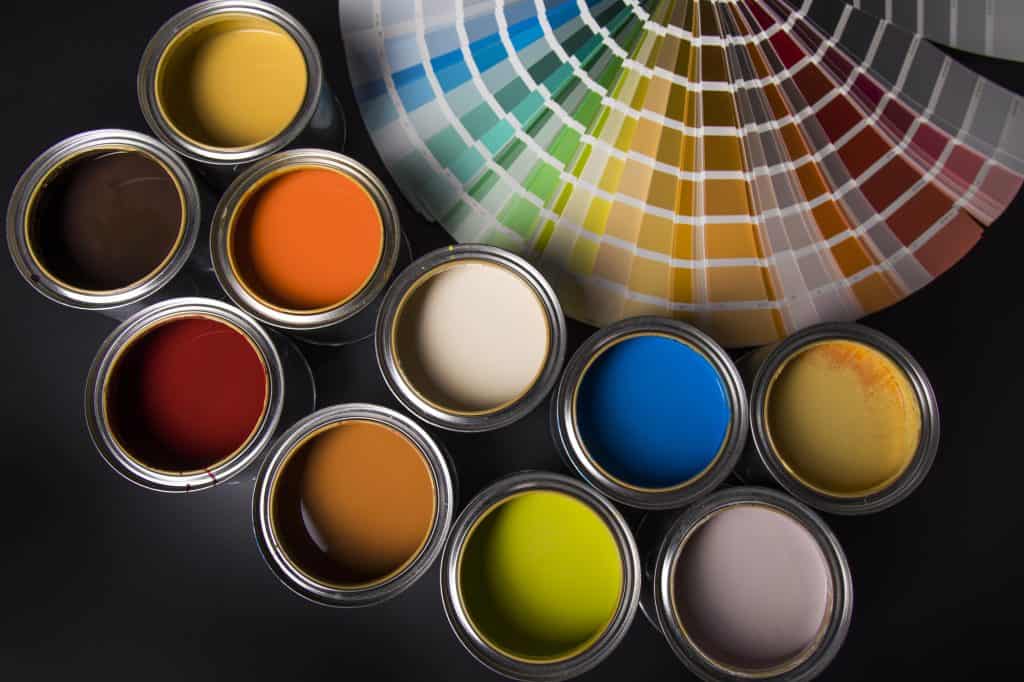
Gather Your Plant Dyes
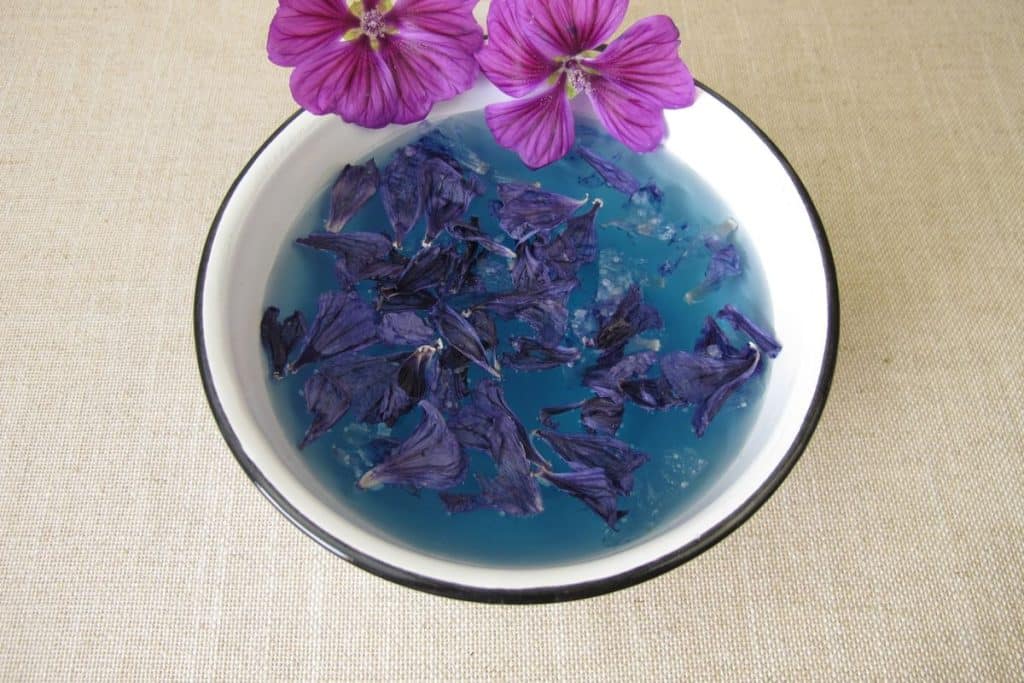
Indian textiles are known for their stunning colors and many of these can be sourced directly from nature. Common plant dyes include indigo for blue, turmeric for yellow and madder root for red. You can forage for plants like marigolds, hibiscus flowers or even onion skins for rich, earthy tones. These natural dyes are not only beautiful but also non toxic and biodegradable, making them a sustainable choice for your home. By incorporating a variety of plants, you can create an intricate color palette that is truly your own.
Prepare Your Dye Bath
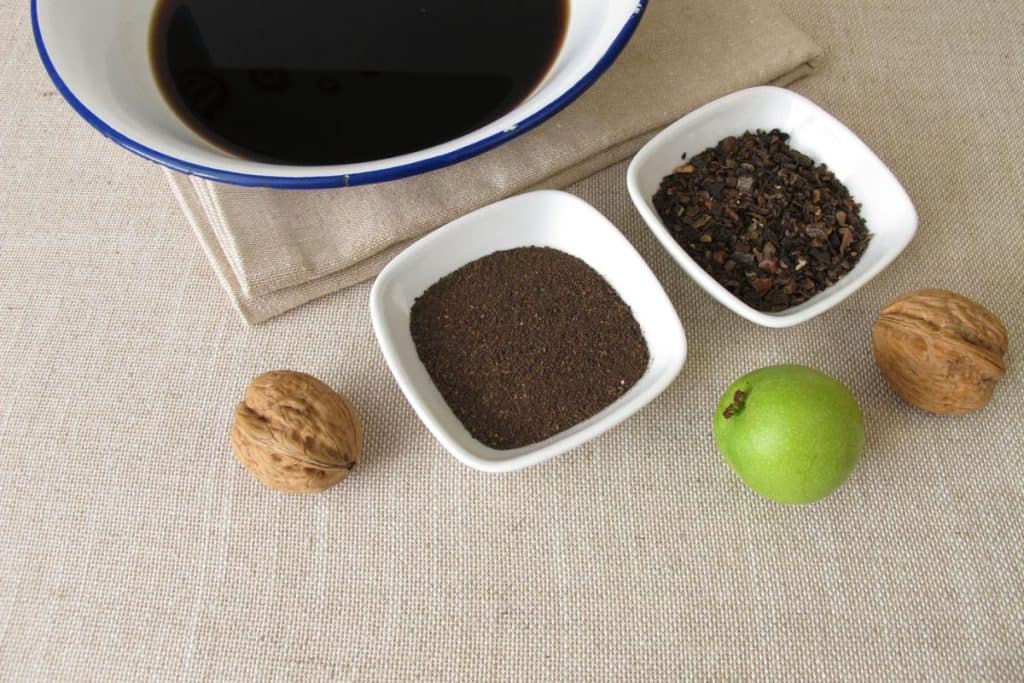
To create your dye bath, boil your plant material in water for several hours until you achieve a deep, concentrated color. Strain out the plant matter and you are left with a liquid that will transform your fabric. Keep in mind that the longer you let the fabric soak in the dye, the more intense the color will become. Be prepared to test a few samples to get the exact shade you desire, as the color may vary depending on the fabric. The dye bath is the heart of the process and the deeper the soak, the richer the outcome.
Prepare Your Fabric
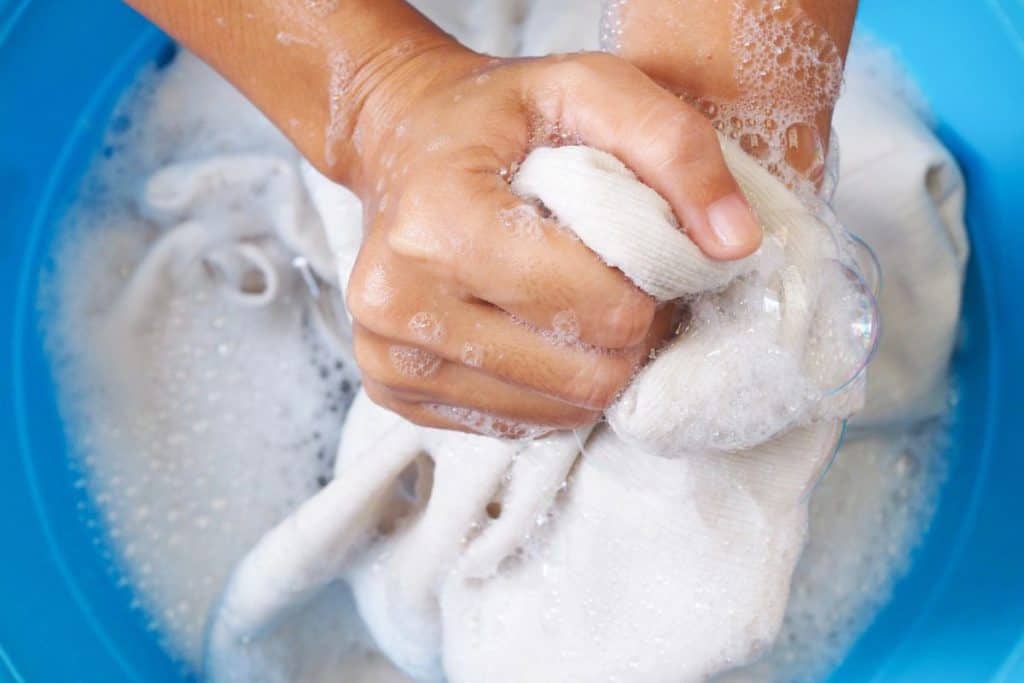
Before dyeing, prewash your fabric to remove any dirt or chemicals that might interfere with the dye absorption. You can also pre mordant your fabric to help set the dye, enhancing the vibrancy and longevity of the color. If you are using multiple colors, consider creating a design or pattern to make the process more exciting. This could involve folding, tying or stitching the fabric in specific ways to create unique textures and patterns that will reveal themselves after dyeing. Prepping your fabric properly ensures the best possible results and allows for creativity in your design.
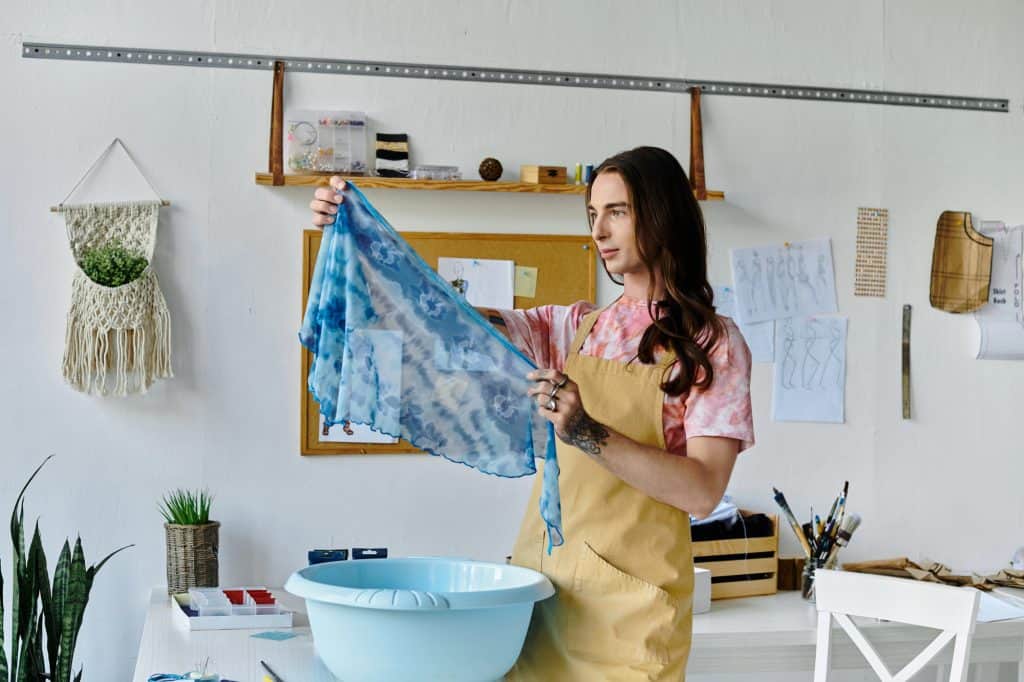
Dyeing the Fabric
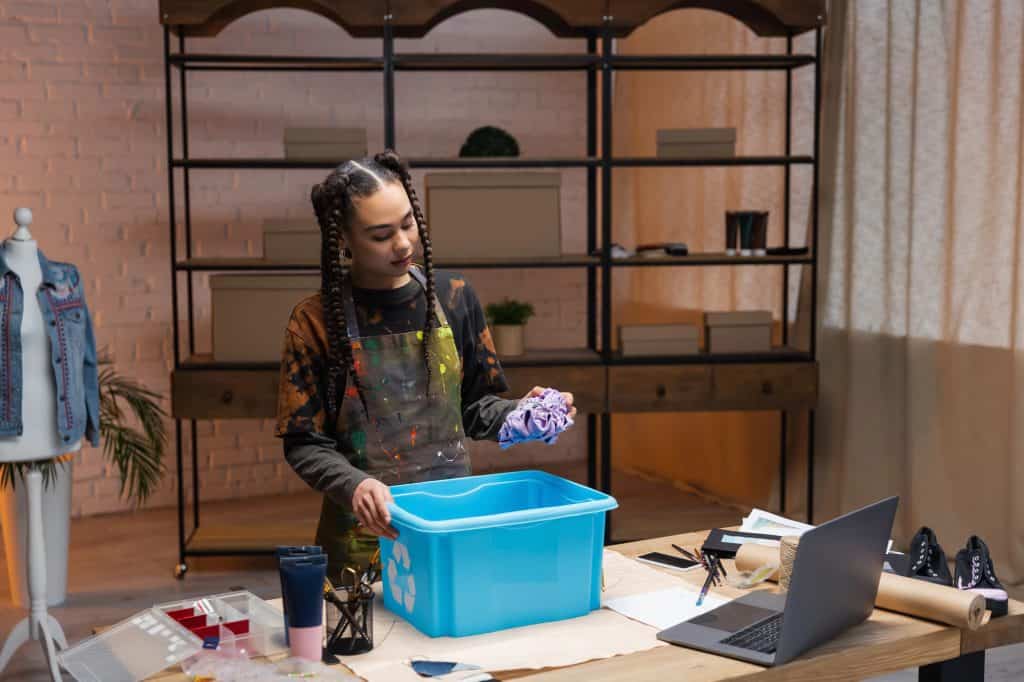
Dip your fabric into the dye bath and allow it to soak for the desired amount of time. Keep an eye on the color as it develops, as it will appear lighter when wet and deepen as it dries. For more complex designs, you can create layers of color by dipping sections of the fabric into different dye baths. Try experimenting with ombre effects by gradually dipping the fabric deeper into the dye for a beautiful gradient effect. This is your opportunity to play with the hues and textures, creating a fabric that is uniquely yours.
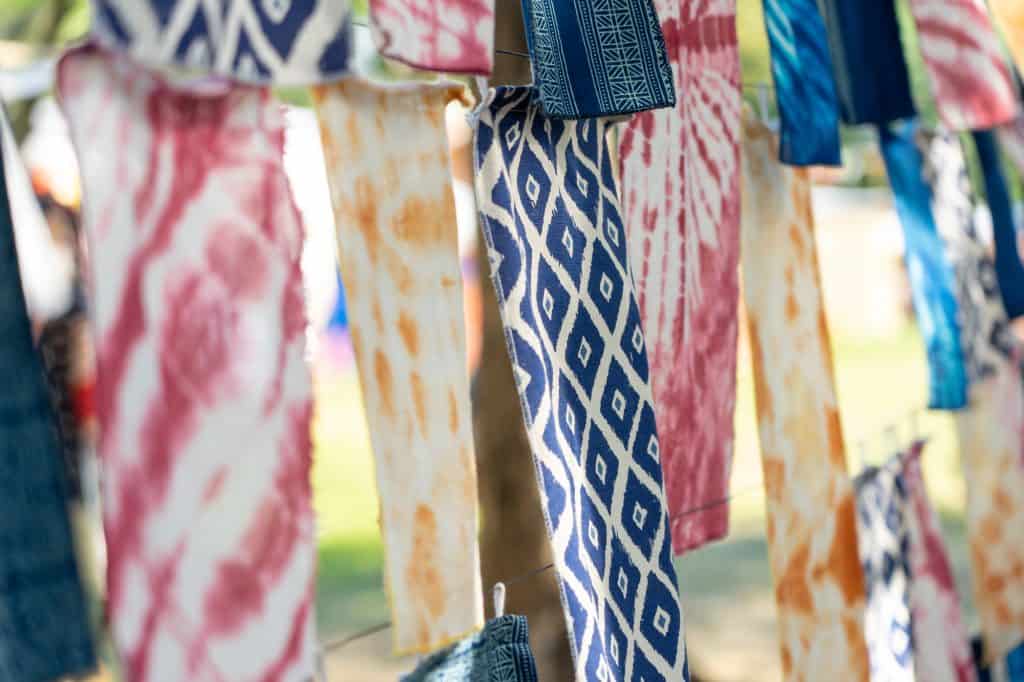
Set the Color
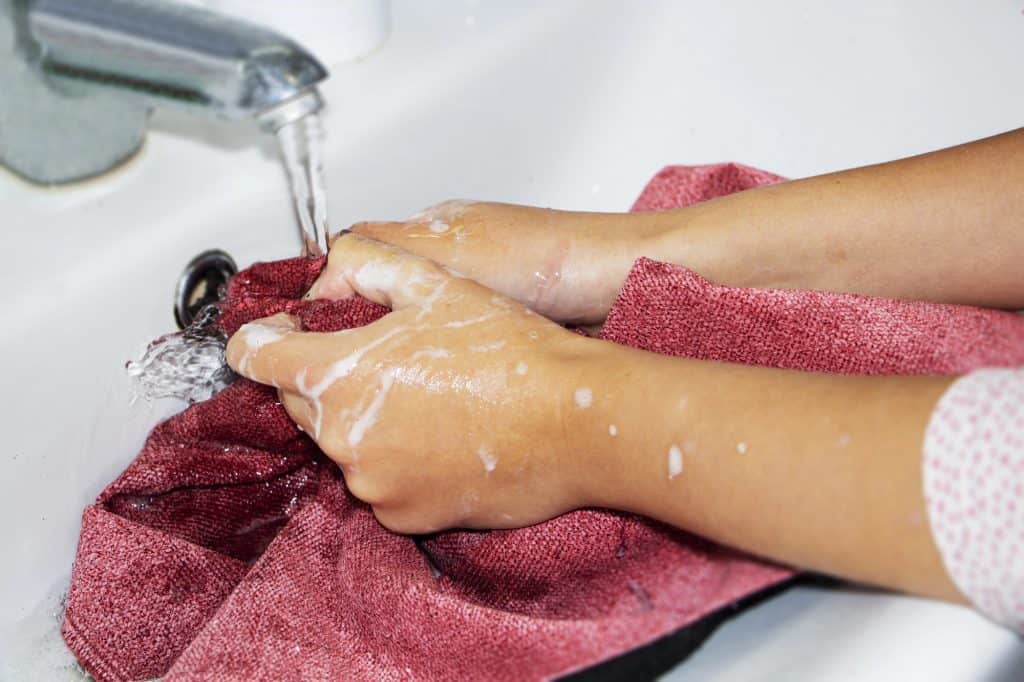
Once you have reached the perfect shade, rinse your fabric in cold water to remove any excess dye. Setting the color helps to lock in the vibrancy and prevents the dye from bleeding. For natural plant dyes, consider using a vinegar solution to fix the dye or leave the fabric to air dry. The drying process will also reveal the final color intensity, so hang it up in a well ventilated area. The beauty of plant dyed fabric is that no two pieces are exactly alike, each carrying its own one of a kind hue.
Related Post: 12 Secrets to Sewing Pleats, Ruffles, and Gathers Like a Designer
Create Your Design
Now that your fabric is dyed and set, it is time to incorporate it into your home decor. You can turn your plant dyed fabric into pillow covers, wall hangings, table runners or even curtains. Consider using embroidery to add intricate detailing or applique to create a textured effect. Your dyed fabrics can be stitched together for a patchwork design or they can be framed to showcase the natural beauty of the dye. This is where your creativity shines, turning your dyed fabric into a functional piece of art.
Related Post:10 Must-Know Tips for Perfect Granny Squares
Incorporate Indian Textile Techniques

To truly capture the spirit of Indian textiles, incorporate traditional techniques such as block printing or hand stitching onto your dyed fabric. You can use wooden stamps to add intricate patterns or create borders with simple running stitches to give the piece a handmade touch. These methods not only elevate the aesthetic but also bring a sense of cultural richness to your decor. The traditional motifs from Indian textiles, such as paisleys or floral patterns, can enhance the natural beauty of your plant dyed fabric, giving it a timeless and sophisticated feel.
Related Post:12 Eye Popping DIY Rugs Made from Scrap Yarn
Combine Different Plant Dyes
Why stop at one color when you can create a stunning multi-colored effect? Combining different plant dyes is an easy way to experiment and create intricate color combinations. You can create a gradient effect by gradually changing colors across the fabric or even dip the fabric in multiple dyes for a marbled effect. The key is to have fun with the process and not be afraid to mix and match hues. This approach brings an added layer of creativity to your DIY project.
Related Post:Sew Your Dream Dress from Scratch with This Beginner-Friendly Guide
Add Decorative Finishing Touches
Once your fabric is ready, consider adding small decorative elements to further personalize your project. Beads, tassels or metallic threads can be sewn onto the fabric for additional texture and charm. A pop of gold or silver embroidery can transform a simple design into a luxurious statement piece. These final touches bring extra personality and flair, making your piece truly unique. Even small additions can elevate the handmade quality of your decor, giving it that boutique feel.
Related Post:14 Crochet Borders That Instantly Elevate Any Project
Display with Care
After your plant dye art is finished, take a moment to carefully display it in your home. Whether it is hanging a wall tapestry, draping a table runner or styling your cushions, your newly transformed fabric should be showcased to highlight its vibrant color and intricate design. Choose a space where it complements your existing decor and creates an inviting atmosphere. Displaying your DIY project thoughtfully will enhance the beauty of your entire room.
Related Post:12 Unexpected Ways to Make Negative Space Your Crochet Superpower
Enjoy the Eco-Friendly Artistry
One of the most rewarding aspects of this DIY project is that it is eco-friendly. By using plant based dyes, you are embracing sustainability while creating something beautiful and personal. Each piece is a reflection of nature’s colors, giving your home a sense of harmony and tranquility. With every glance at your plant dye art, you will be reminded of the magic that happens when creativity and nature come together. Celebrate the artistry of nature and enjoy knowing that your home decor is as sustainable as it is stunning.
Related Post:Sew Smarter Not Harder, 15 Genius Shortcuts to Slash Your Stitching Time
Creating plant-dyed textiles for your home is not only a beautiful way to infuse your space with color but also a rewarding journey into eco-friendly crafting. By using natural materials and ancient techniques, you will bring the rich tradition of Indian textiles into your home with a modern twist. This DIY project allows you to express your creativity, infuse your decor with meaningful colors and celebrate the beauty of nature. Best of all, it is a sustainable way to enhance your home, bringing timeless beauty with every carefully crafted piece.
Disclaimer: This list is solely the author’s opinion based on research and publicly available information.
The Softest and Easiest Yarns for Beginner Knitters

Starting your knitting journey is an exciting step and choosing the right yarn can make a big difference in how enjoyable and successful your projects are. The best yarns for beginners are soft, smooth and easy to work with, allowing you to focus on mastering basic techniques rather than struggling with tricky fibers. Here’s a guide to some of the softest and easiest yarns for beginner knitters, helping you create beautiful projects with ease.
Read it here: The Softest and Easiest Yarns for Beginner Knitters
Chunky vs Fine Yarn: 10 Ultimate Rules to Picking the Right One

Choosing between chunky and fine yarn can be a game changer in your knitting or crochet projects. The type of yarn you use impacts everything from the look and feel of the finished piece to the time it takes to complete. Understanding when and how to use each yarn type can make all the difference. Here are 10 ultimate rules to help you pick the right yarn for your next project.
Read it here: Chunky vs Fine Yarn: 10 Ultimate Rules to Picking the Right One
12 Insider Tips for Choosing the Right Yarn Every Time

Choosing the perfect yarn for your knitting or crochet project can be overwhelming with the vast array of options available. The right yarn can make all the difference in how your project looks and feels while the wrong choice can lead to frustration and unsatisfactory results. Whether you are a seasoned pro or a beginner, these 12 insider tips will guide you in selecting the right yarn every time, ensuring that your handmade creations are both beautiful and functional.
Read it here:12 Insider Tips for Choosing the Right Yarn Every Time
You’ll love these related posts: