
Create A Custom Acrylic Calendar Wall That’s Both Functional And Stylish
If you have ever dreamed of merging high design with daily function, this DIY acrylic calendar wall is your new obsession. Sleek, modern, and endlessly reusable, this project elevates your workspace or kitchen wall with minimalist style and maximum organization. Perfect for families, creatives, or remote workers, it becomes a visual hub where appointments meet aesthetics. Whether you are mapping out your month or adding a splash of dry erase fun to your décor, this calendar does more than tell the date, it tells your story with clarity and class.
Choose the Right Acrylic Sheet
Start by selecting a clear, high-quality acrylic sheet; go for one at least 1/4″ thick for durability and a luxe, glass-like look. Cut it to your desired size; a 24×36-inch board is ideal for a full month view. Clear acrylic keeps the design crisp and light, allowing your wall color or backdrop to shine through. This transparent base is what gives the calendar its sleek, floating effect. It is the foundation of both form and function, so do not skimp on quality here!
Plan the Layout on Paper First
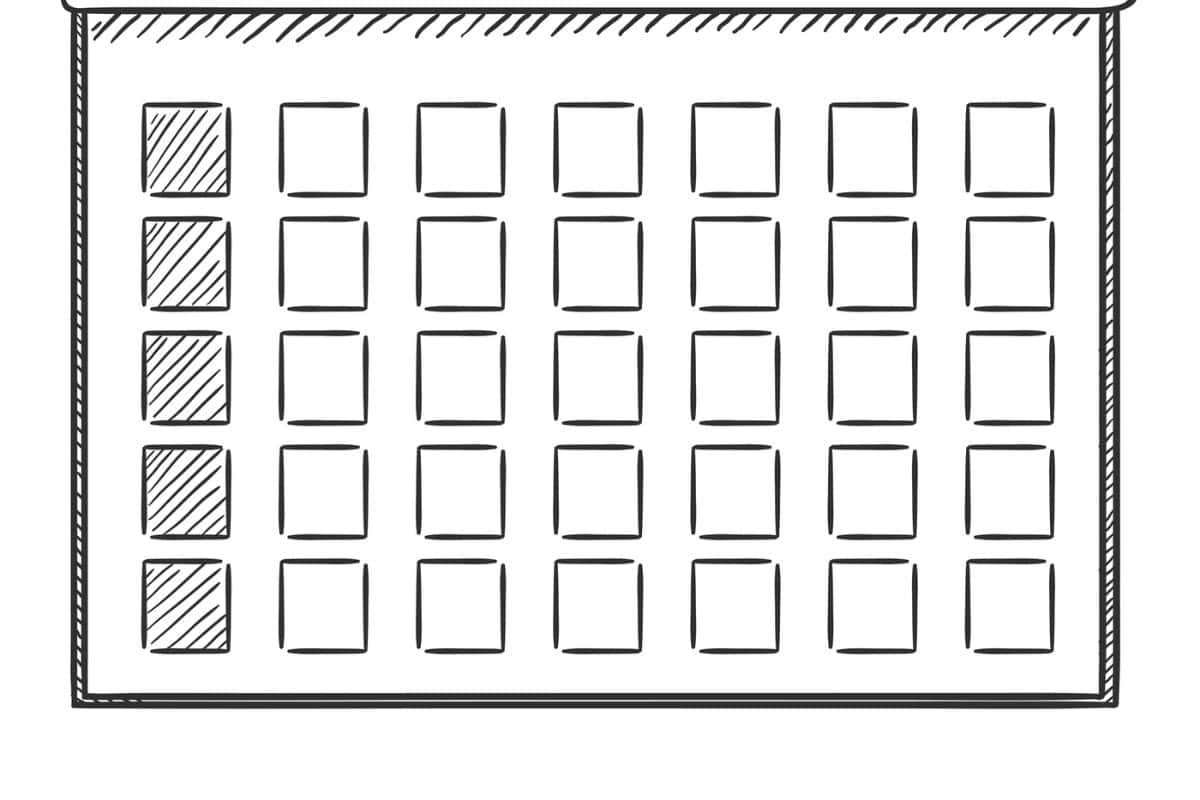
Sketch out your calendar grid and spacing on paper before marking the acrylic; mistakes are harder to fix later. Decide if you want a full monthly grid, a weekly breakdown, or sections for notes and goals. Mapping it first helps balance aesthetics with usability and avoids a cluttered look. A well-spaced design will make it easier to write and read later. Treat it like designing an interface, user-friendly and visually pleasing.
Use a Vinyl Cutter or Pre-Cut Stickers
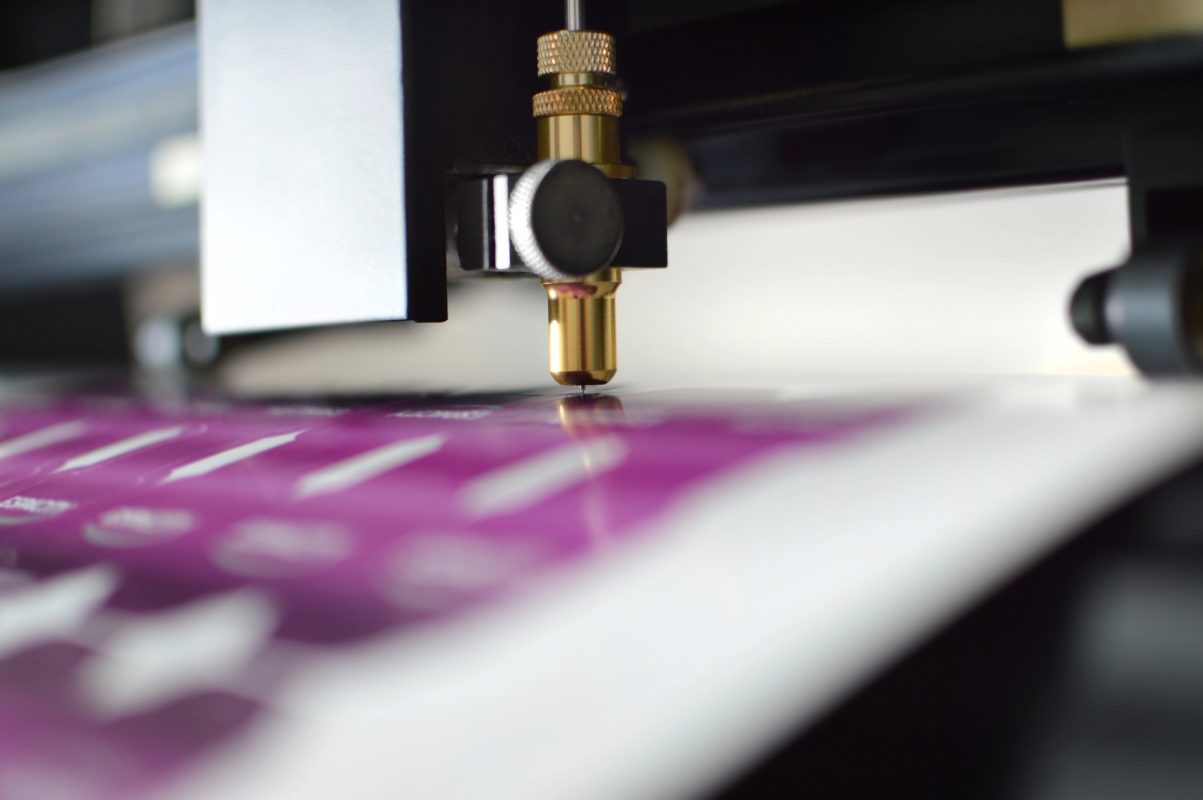
For precise, professional-looking letters and lines, use a vinyl cutter or order custom decals online. Labels like “Monday” through “Sunday,” numbers, and headers for “To-Do” or “Notes” look clean and graphic in white or matte black. Stickers keep the design mess-free and allow easy updates later. You will get a polished finish that mimics store-bought versions. Plus, using decals makes spacing uniform and stress-free.
Grid It Out with Painter’s Tape
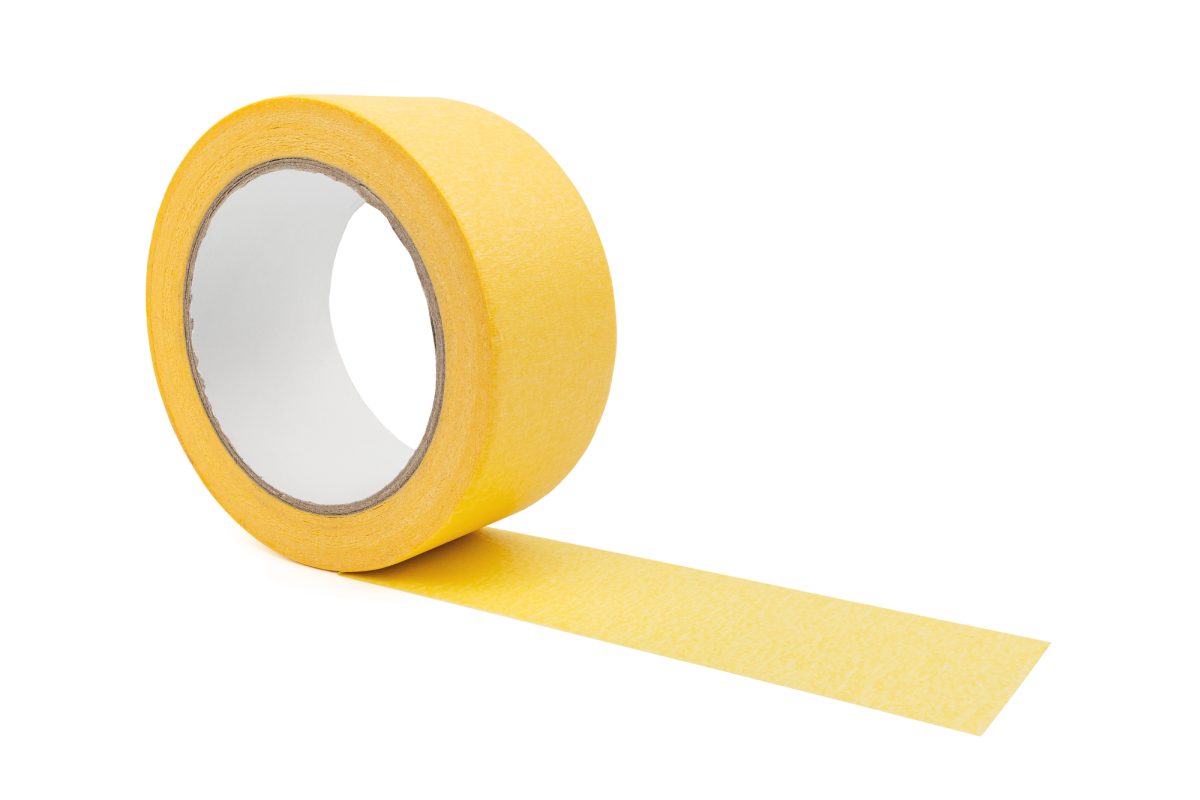
Apply painter’s tape to outline your calendar boxes and sections on the acrylic. This creates crisp lines and helps you keep everything level and evenly spaced. Whether you are using a marker or decals, the tape acts as a guide that you can easily remove. It is a small extra step that makes a huge difference in precision. Do not eyeball, measure, and tape to avoid regrets!
Apply Lines and Labels with Care
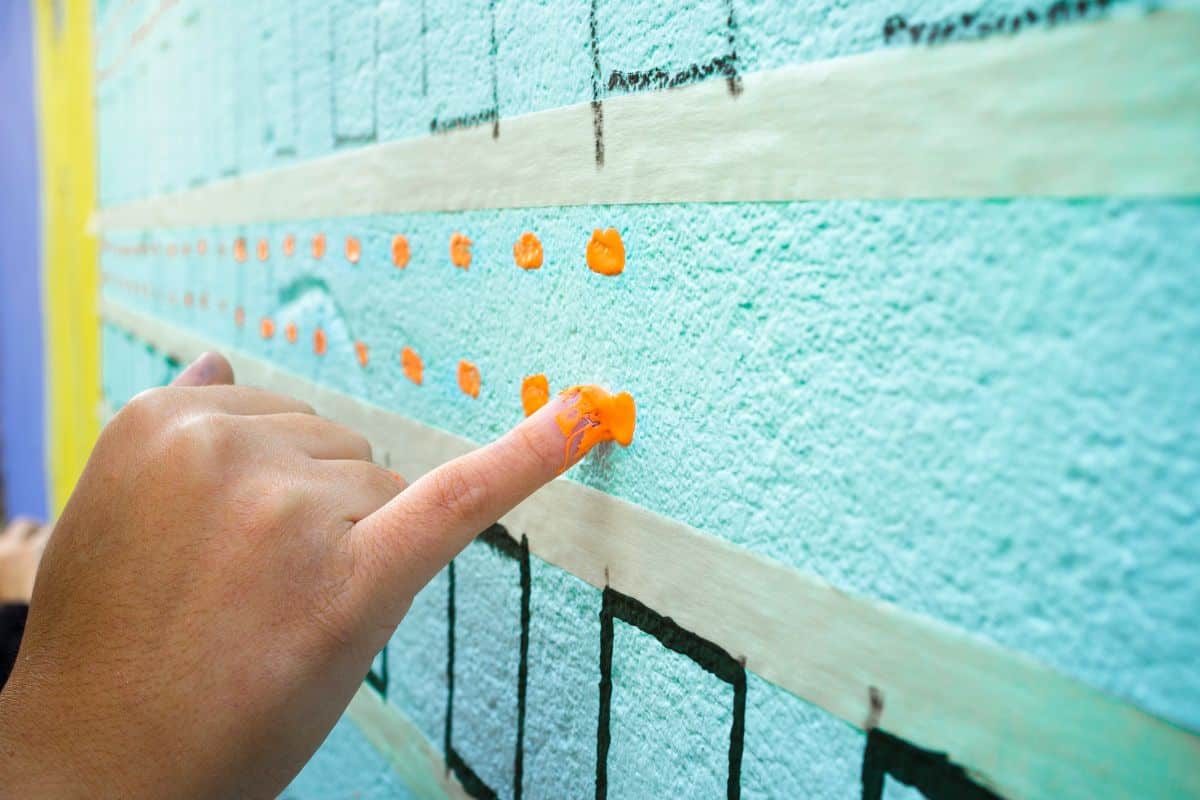
Once taped, use permanent paint pens or apply vinyl lines carefully along your guides. Press gently and go slow; rushing can lead to wobbly or uneven lines. Use a ruler or level to double-check alignment before committing. The goal is clean, modern geometry that balances style with clarity. Think of this as graphic design on a clear canvas, it is all about balance and detail.
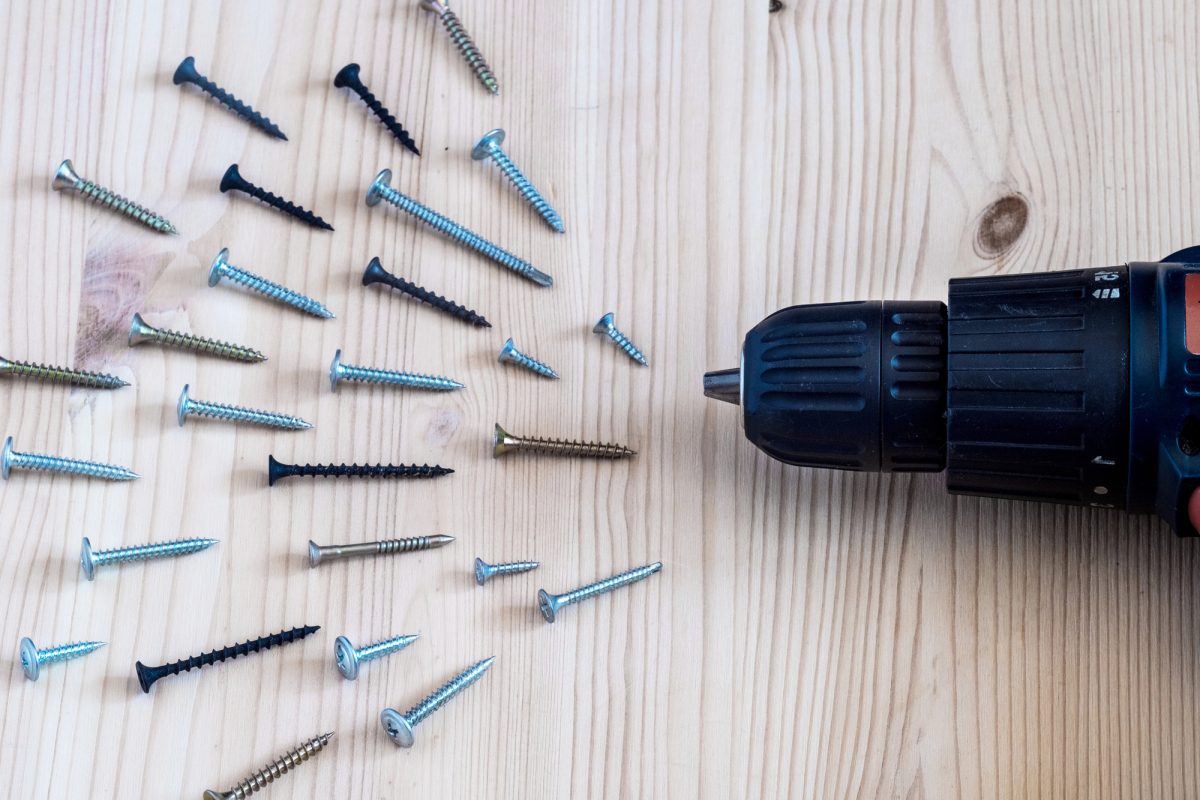
Drill Mounting Holes in Each Corner

Drill small holes in the corners of the acrylic for wall mounting, using a fine bit and slow, steady pressure to prevent cracking. If you are new to drilling acrylic, tape the drilling area first and place it on a padded surface. This lets you install your calendar with sleek standoff screws or command hooks later. Pre-drilling gives you flexibility in how and where you mount it. It is the invisible prep that makes your finished wall look effortless.
Related Post: 15 Expert Tips for Painting on Fabric Like a Pro
Add Wall Spacers or Standoff Screws
Mount your acrylic calendar with metal standoff screws or adhesive wall spacers for a “floating” effect. This adds dimension and makes the calendar feel like a sculptural feature on your wall. Standoffs also allow easy removal and cleaning. Choose brushed metal or matte black for a modern finish. The result is museum-worthy, practical art.
Related Post: The Only Fabric Guide You’ll Ever Need for Sewing Success
Use Fine-Tip Dry Erase or Chalk Markers
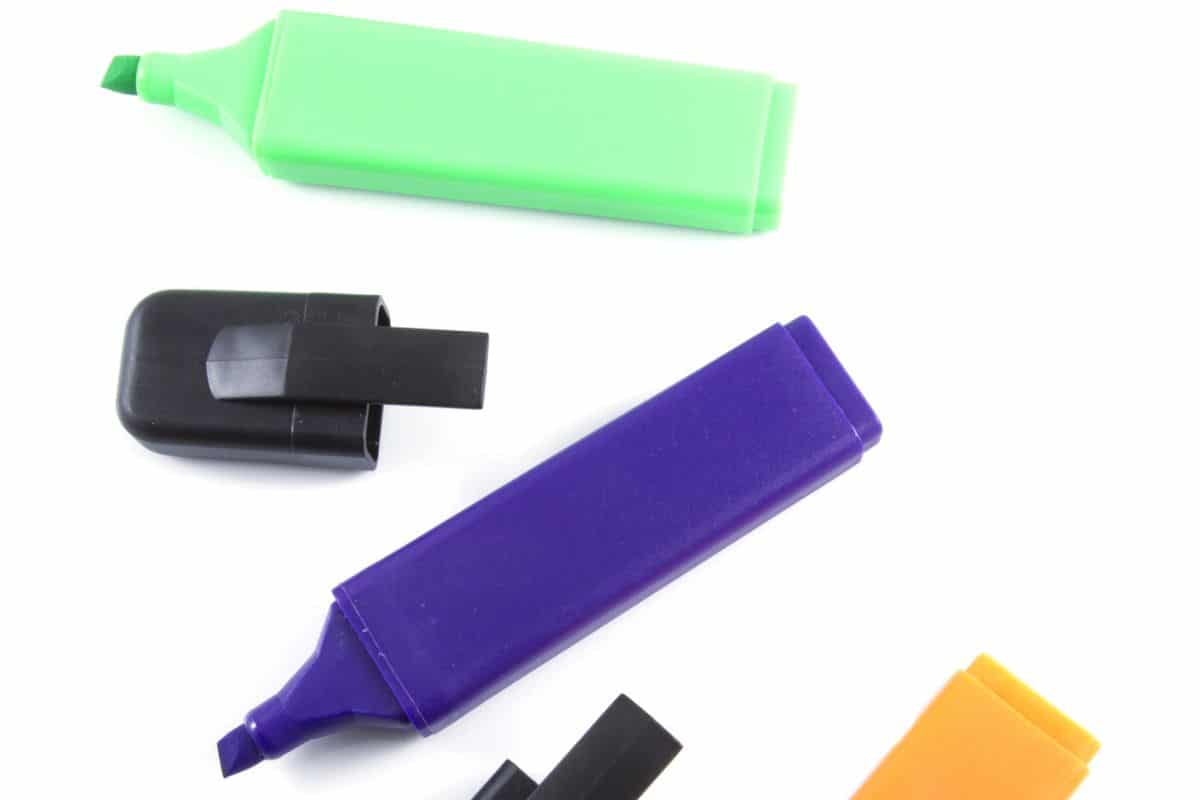
Choose high-quality dry-erase markers or liquid chalk pens that would not stain the acrylic. Go for fine-tipped options so writing stays legible, even in smaller calendar squares. You can color-code events for different family members or categories. Plus, cleaning is as simple as a quick wipe with a soft cloth. The writing surface stays fresh and clear, month after month.
Related Post: You Will Never Look at Old T-Shirts the Same Way After These 15 Hacks
Add a Cork Strip or Pen Shelf Beneath
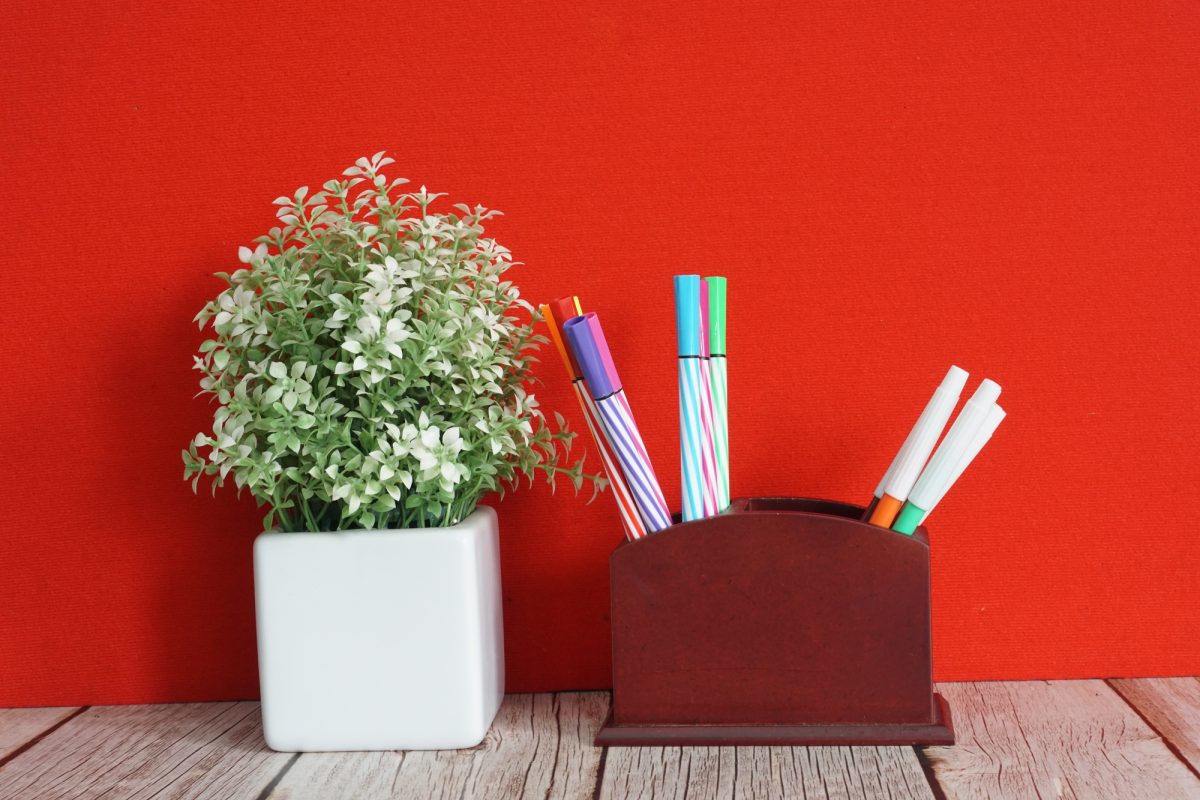
Install a slim shelf or cork strip underneath the calendar for pens, pushpins, and notes. This adds function without cluttering your wall space. It is especially handy if you are using your calendar in a kitchen or shared office. The addition creates a mini command center in one elegant setup. Practicality and style, bundled into one cohesive design.
Related Post: 15 DIY Embellishment Hacks That Will Instantly Elevate Your Projects
Personalize It with Minimal Accents

Add subtle touches like your family name, a motivational quote, or seasonal icons in the corners. Keep it simple to maintain the Japandi-inspired minimalism, think elegance over excess. These details give your calendar character and emotional warmth. Even something as small as a monogram can make the design feel uniquely yours. It is a space for planning, but also a celebration of your aesthetic.
Related Post: 15 Mind-Blowing Sewing Machine Hacks You Never Thought Of
Snap a Photo Before Each Monthly Reset

Before wiping the board clean, take a photo to save your month’s layout digitally. This helps track your schedule history and memories without adding paper clutter. You might even compile these into a “year in review” photo album. It is a subtle way of turning planning into personal reflection. Your calendar becomes more than functional, it is part of your life story.
Related Post: 10 Stylish DIY Accessories You Can Make from Old Sweaters
Keep It Fresh with Seasonal Marker Colors
Switch up your dry erase pen colors with the seasons: pastels for spring, brights for summer, and deep tones for fall. This keeps the board visually dynamic and aligned with your home’s mood throughout the year. It is a tiny tweak that reinvigorates your space with just a few swipes. Even practical tools can inspire when they feel seasonal and fresh. It is your calendar, let it evolve with your vibe.
Related Post: 12 Sewing Projects That Will Make You Fall In Love With DIY Fashion
A custom acrylic calendar wall is more than just a place to jot down dates, it is an interactive design statement that keeps you grounded and inspired. In a single space, you have built elegance, organization, and creativity into your daily rhythm. Whether you are planning meetings, meals, or memories, this DIY project proves that style and structure can live in perfect harmony. So grab your markers, clear your wall, and make every day feel like it is framed in intention.
Disclaimer: This list is solely the author’s opinion based on research and publicly available information.
Create Your Own DIY Journal or Planner from Scratch

Creating your DIY journal or planner from scratch is an incredibly rewarding and fun project that allows you to design a personalized, functional tool that fits your exact needs and style. From choosing the paper and layout to crafting a unique cover and binding, all while infusing your creativity into every page, making it a one-of-a-kind reflection of your personality and goals. Whether you are seeking a space to journal your thoughts, stay organized, or track habits, this hands-on process not only results in a beautiful, customized creation but also provides a therapeutic way to engage with your plans and aspirations on a deeper level.
Read it here: Create Your Own DIY Journal or Planner from Scratch
14 Crochet Borders That Instantly Elevate Any Project

Crochet borders are a simple way to add an extra touch of flair to your creations, transforming them from basic to beautiful. Whether you are finishing off a blanket, scarf, shawl, or even a piece of clothing, a well-chosen crochet border can elevate the design and provide a polished look. Here are 14 crochet borders that will instantly take your project to the next level.
Read it here: 14 Crochet Borders That Instantly Elevate Any Project
12 Game Changing Crochet Embellishments You Will Obsess Over

Crochet is already an incredibly versatile craft, and when you add a few creative embellishments to your designs, you can transform a simple project into something extraordinary. Whether you are sprucing up a scarf, giving a plain top some pizzazz, or elevating home decor, these 12 game-changing crochet embellishments will take your creations to the next level. Get ready to obsess over these creative touches that will have your crochet projects looking unique, stylish, and professional!
Read it here: 12 Game Changing Crochet Embellishments You Will Obsess Over
You’ll love these related posts: